Car-Rep
PAINTING INSTRUCTIONS - RUBBERcomp spray
Ensure that the area in which you intend to paint is dust-free, well-ventilated, and that the ambient temperature is at least 20°C. Wash the surfaces and clean them of any impurities before you begin to paint. After cleaning, dry the surface with a cloth; avoid paper towels as they usually leave dust behind on the surface. Protect all the surfaces you do not wish to paint.
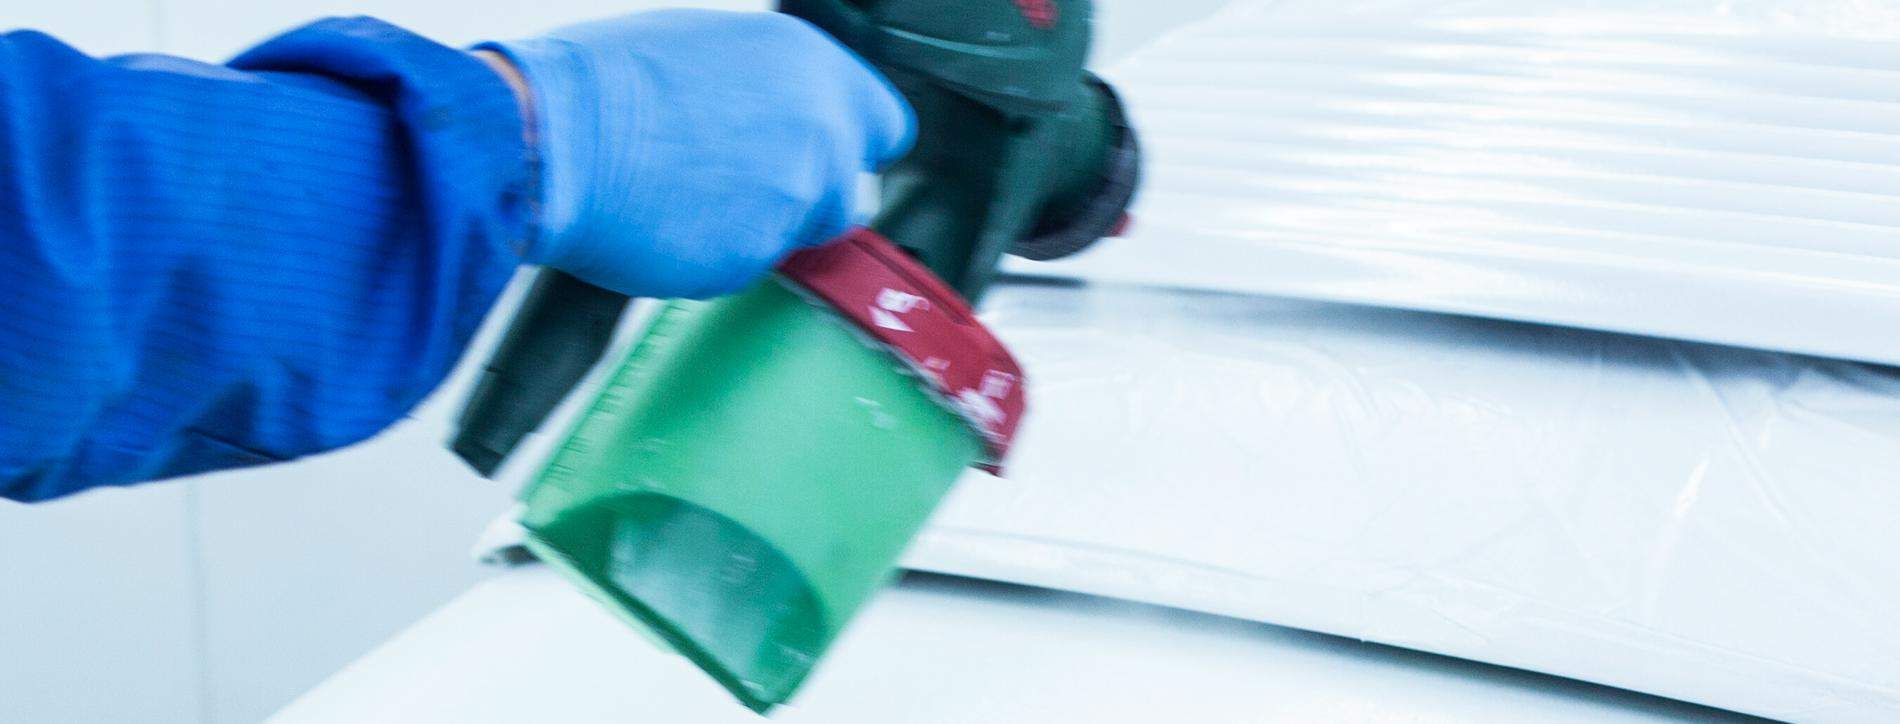
Mix well before use. If the surface is already painted, paint a test area to check the suitability of the rubber paint. The rubber paint may react with surfaces treated with single-component paint. When spray-painting, several coats of paint are required to achieve a sufficiently thick layer. Always begin spraying the paint before you bring the spray over the area you wish to paint. Spray evenly and work slowly at a distance of around 15cm - 20cm from the surface. Allow each coat to dry for 10-20 minutes between painting sessions until the surface is dust-dry. Remember that the drying time for each coat will lengthen as the thickness of the layer increases. Inspect and clean the nozzle opening regularly to avoid spatter.
Once you have thoroughly painted the surface, check to make sure that you have painted all of the surface. Never touch a treated surface that is either wet or not completely dry. Paint subsequent coats in different directions, perpendicular to the first coat. Remember that you can turn the red nozzle opening to adjust the nozzle and paint spray if you wish. The best result is achieved by patiently applying several coats. A sufficiently thick layer of rubber paint can be easily peeled off; this is achieved after around four coats. We recommend a coat of white paint as a base to ensure that neon colours are as bright as possible.
Once the final coat has been painted and is still wet, you can remove the protective taping or any other protection in direct contact with the treated surface. All other protection should be left in place and removed only once the paint has dried, or by cutting it open with a knife once the RUBBERcomp® is completely dry. We recommend a plastic blade for cutting.
Drying time: (20°C, 50% relative humidity):
Dust-dry: approx. 10-20 minutes
Dry to the touch: approx. 30-60 minutes
Completely dry: after 4-8 hours
Final hardness: approx. 2 days
Drying times may be longer at cooler temperatures.
Coverage: Spray approx. 0.5m2 / can (4 coats)
For e.g. wheel rims (17 inch, series, 4 coats), you will need 3-4 cans.

Download a PDF of the RUBBERcomp painting instructions here >>

INSTRUCTIONS FOR PAINTING WITH A PAINT GUN
RUBBERCOMP® SURFACING AND THINNING:
Clean the surface of oil, grease, dirt, wax and loose rust. Thin the paint using a ratio of 1l paint to 450ml of thinner ±5%. Mix well before use. For pneumatic guns we recommend a compression pressure of 2.5 bar max and a nozzle size of 1.1 - 2.0mm Electric paint guns should be adjusted according to type. Always test paint a separate, sufficiently large test patch. First adjust the gun to its minimum position and then increase the settings until you achieve a wet, even surface which does not drip. Paint at least 4 coats following the more detailed RUBBERcomp® painting/technical instructions. You can lengthen the lifetime of an opened can of paint by adding a layer of thinner to the surface before closing the lid.
Paint coverage, 1 litre of ready-thinned surfacing
One coat: 6 - 8m²
4 coats (recommended minimum) 1.5 - 2m²
6 coats (recommendation for treating cars) 1.0 – 1.3m²)
Recommended amount for surface treating cars (6 coats)
Small (6m²) 4.5-6 l of pre-thinned coating
medium (8m²) 6–8 l of pre-thinned coating
large (8m²) 8–10 l of pre-thinned coating
Drying
Drying time: (20°C, 50% relative humidity):
Dust-dry: 20 minutes
Dry to the touch: 40 minutes
Completely dry: after 10 hours
Final hardness: 2 days
Recommended painting temperature +18 - +25°C
Drying times may be longer and the quality of the surface quality may be poorer at cooler temperatures.

Download a PDF of the RUBBERcomp painting instructions here >>


